|
|
Post by Double Yoi on Nov 28, 2010 19:33:00 GMT -5
I picked this up from a local shop for a more than fair price. 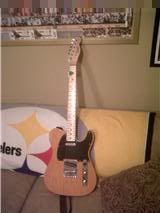 With a trip planned to my in-laws(my father in law has an awesome woodshop) the wheels were set in motion. He and I had worked on guitars before and had spoke of recapping/retopping one in the future. He had a good amount of cypress in the shop and for a few games of Wii bowling and the contents of my change jar, he loves pennies, We had a deal! We started with a jig. 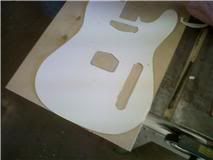 |
|
|
|
Post by Double Yoi on Nov 28, 2010 19:41:42 GMT -5
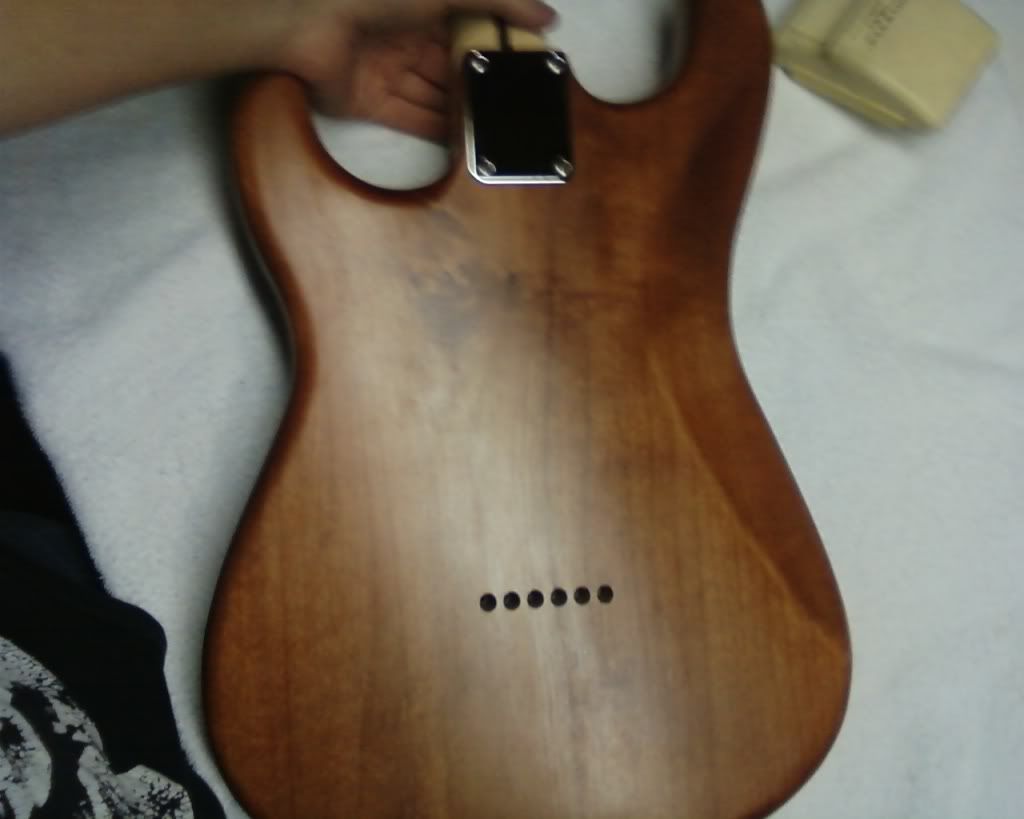
Sorry for the break, little rusty. We used 1/4 plywood and made a great template. Then the fun started. 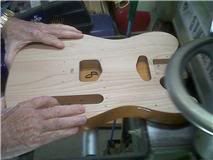 We took 1/2 off of the 1&7/8s body. the only problem we ran into was the input jack hole got shaved into a little but we will re-drill when the cap is on. We picked a nicly grained piece of stock to use. 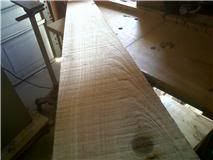 The grain has a nice red hue to it and when finished (poly) is outstanding. I will post more pics as we go on. |
|
|
|
Post by ijustwannastrat on Nov 28, 2010 23:40:30 GMT -5
Hmm, I was planning on doing the same thing with the tele body I'm buying this December....
|
|
|
|
Post by Double Yoi on Dec 1, 2010 5:22:18 GMT -5
You guys think I should bind the top? I know Stumac has an attachment for the dremel at a reasonable price, and binding is affordable as well.
What do yous guys think, Natural finish with a cream colored binding?
|
|
|
|
Post by newey on Dec 1, 2010 5:46:02 GMT -5
I think Teles were made to be bound, at least on the top. I'd say go for it!
|
|
|
|
Post by Yew on Dec 1, 2010 6:33:36 GMT -5
I do like a good telecaster.. never owned one mind.... Then agai ni have GAS for about 6 guitars atm...
Bet that will look sweet when its done
|
|
|
|
Post by cynical1 on Dec 1, 2010 6:50:11 GMT -5
I'd say go with the binding. The attachment from Stew-Mac is good, but there is a learning curve. Find some scrap first before you start on the guitar...and go slow and triple check your routing dimensions on a piece of scrap as well...or you'll need to get the Stew-Mac binding stretcher.
And don't go with just one color. Try alternating cream and black.
Also, a hair dryer can make the job easier by making the binding a bit more flexible.
HTC1
|
|
|
|
Post by sumgai on Dec 1, 2010 11:54:56 GMT -5
Me, personally? I like the "fake binding" look. Mask off an appropriate portion of the side and top, to protect it from the coats of color finishing (be it poly, nitro, or whatever). When you're all done with the color coats, strip off the mask, and apply your final clear coats. Presto! a nice natural wood finish "binding" that's as strong as the rest of your axe, meaning that it can't come off!  But as in all things Nutzy, do as c1 suggests and practice first on some scrap wood. sumgai |
|
|
|
Post by Double Yoi on Dec 1, 2010 16:43:23 GMT -5
i dig this look  this would look smokin with black hardware  This could lead to a personal best in indecision and waffleing! MMMMMMMMMMM waffles!  |
|
|
|
Post by cynical1 on Dec 1, 2010 19:14:29 GMT -5
Why not work a combination of the two. For example:  Work any combination or derivation of the examples above. If you're going to drop the coin for the Stew-Mac binding router tool you really ought to get your money's worth... In for a penny, in for a pound... Or, in other words...  HTC1 |
|
|
|
Post by lpf3 on Dec 1, 2010 23:47:04 GMT -5
craiglyles wrote:Just sayin'.... if you're lookin' at the cream binding at Stew-Mac I gotta tell ya- in real life it's very beige/tan flesh color and may not be what you have in mind for "cream". It's not like the binding in the photo you posted, it's not really like the Les Paul Goldtops binding either.........  You may have better luck looking for a parchment binding or getting white & tinting it with amber. Sounds like you have some good ideas for this project.............. -lpf3
|
|
|
|
Post by Double Yoi on Dec 2, 2010 5:42:48 GMT -5
Thanks for the heads up lpf3, good lookin out!
I like the laminated idea Cyn, and Sums as well. I will have to "talk" to the guitar and see what she wants after the glue up. Know What I mean?
|
|
|
|
Post by newey on Dec 2, 2010 6:19:26 GMT -5
Sure. And if you hook up a Vocorder, she can talk back . . . ;D ;D
|
|
|
|
Post by cynical1 on Dec 2, 2010 12:41:37 GMT -5
...and if you stop taking your meds... ;D
|
|
|
|
Post by ijustwannastrat on Dec 2, 2010 13:33:59 GMT -5
Who ever took meds in the first place?
I say, double bind her up, or bust. At least on a tele body.
|
|
|
|
Post by Double Yoi on Dec 2, 2010 16:19:21 GMT -5
Driving home, I realized that the new top is 1/2 inch thick which means the join line will be seen behind the binding.
I know the experience of doin it is worth it as I dont plan to part with the guitar afterwords, but the asthetics is a concern...
any suggestions?
|
|
|
|
Post by cynical1 on Dec 2, 2010 17:15:41 GMT -5
Well, you could have the only carved top body telecaster out there... You could paint the sides so no one sees the splice. If you want to be really tricky about it, do a slight carving for 1/4" and toss on some 3/8" marquetry down to the seam. Something like this:  or  or  ...or just go to Inlay Products World and see what strikes you. If you do decide to try this, some veneer softener would be highly recommended.  Super-Soft 2™ Veneer Softener - Click me, I'm a link! Super-Soft 2™ Veneer Softener - Click me, I'm a link!If I wasn't at work I could give you more details... Happy Trails Cynical One |
|
|
|
Post by lpf3 on Dec 2, 2010 18:24:25 GMT -5
Easy now, not so fast- Feeling ambitious?  Some curly maple veneer on the edges is always nice:  Whew! Ok, in all seriousness- you planed 1/2 " off a 1 7/8 " body leaving 1 3/8" . Plane the new top down to 3/8 ", use the 3/8" binding from Stew-Mac & you'll wind up with a 1 3/4 " body with no visible join at the cap. No problem. ? But special thanks to c1 for the link to Inlay Products World- I'm planning a project with a center strip down the back. -lpf3 |
|
|
|
Post by lpf3 on Dec 2, 2010 19:20:08 GMT -5
Craig, I forgot to mention- when you're done don't forget to check your neck pocket depth. You'll want it to be 5/8" deep.......
-lpf3
|
|
|
|
Post by cynical1 on Dec 2, 2010 19:32:46 GMT -5
If you use these marquetry strips I cannot stress the importance of the veneer softener. Watch the video for how well this stuff works. Anyone who has worked with any type of veneer before will be impressed. Let them soak overnight, dry them between sheets of paper towels, changing the towels periodically, with a phone book, or something hefty on top to keep them flat. Once they're dry you have about a day to install them before they start to stiffen up again. If so, then just re-soak them. If you plan on taking them around the horn(s), as it were, make a template of the horn and gently bend it around it while it dries. This is not a beginner job, but it isn't impossible. One other thing, and there is a vast difference of opinion on this, using veneer glue will be better for the application in the long run. Standard wood glue has a tendency to shrink while it dries and this can crack the veneer, or prematurely allow it to separate over time. I have used both ways, but I just thought I'd toss that out there. If you decide to go with veneer glue, I can highly recommend this  stuff. Better Bond™ Veneer Glue Click on the image for the link, but it comes in light, medium and dark colors. It doesn't require the zillion pounds of pressure most veneer glues do. It does take some time to dry over standard yellow wood glue, but I've never had it let go. The reason for the different colors has to do with the fact that there will generally always be some bleed through of the glue through the veneer. It happens. This is the one drawback of using standard wood glue...it's tougher to sand off and leave that yellow sheen even after having been sanded down. The different colored veneer glue will look more like a natural discoloration in the wood when sanded and is nowhere near as obvious. You'll want to tape around the body anywhere that the glue may come in contact with. You can always take an Exacto knife and clean it up the next day, but having the tape there makes the job much easier. Speaking of tape, take it from me, veneer tape and standard masking tape sucks for this job. Cough up the coin and get the 3M green masking tape. Like this:  It sticks better then the blue stuff and doesn't leave a gummy residue like standard masking tape. Hope this helps. Sorry you asked yet? Happy Trails Cynical One |
|
|
|
Post by lpf3 on Dec 3, 2010 6:07:58 GMT -5
Great info c1- I found another good place for veneers & I'm really considering something with flame maple sides like that Gretch lookin' Tele....... No doubt I'll have questions before this is over........ -lpf3 |
|
|
|
Post by cynical1 on Dec 3, 2010 7:09:12 GMT -5
This is where I got my veneer from from my most recent projects. The thing I liked about this place was that you could see the actual images of the veneer you wanted to buy.  Like this...which is a thumbnail...they have bigger pictures when you click them on the site Like this...which is a thumbnail...they have bigger pictures when you click them on the siteThen see the actual price of that sheet. When it gets ordered and received there's no surprises... HTC1 |
|
|
|
Post by 4real on Dec 3, 2010 15:52:47 GMT -5
Wow...that's one good looking LP'ish guitar... If you were feeling super ambitious and veneering the sides with all the curves around the cutaway does sound a bit ambitious...you could consider a bit of a carved top, set the guitar up with the hardware perhaps and see what is possible...if you are top loading without the scratchplate to show more wood it's a "look" and takes off some of the tele's sharp edges and slab like look...  Something more subtle like the aerodyne carve is a bit more subtle perhaps...  or you could go nuts with a more strat like curves and let the top edge fall where it may following the curves. If you haven't glued the top you might consider other options required for top loading or even a bit of chambering perhaps. Leaving a consistent edge to the top all around would give you a kind of faux binding without the learning curve or extra tools required for the 'real thing'... They are all good looks though in their own way and with a squier project like this you have a licence to go nuts and show off the wood... |
|
|
|
Post by Double Yoi on Dec 3, 2010 17:16:53 GMT -5
Thats what I dig about you guys, every angle covered, every detail pointed out, '
Not just ideas but how to accomplish them.
As it stands Im leaning toward binding the front and back,dark stain on sides to hide the join line and on the back as well.
|
|
|
|
Post by ijustwannastrat on Dec 4, 2010 13:19:08 GMT -5
I never understood why the fronts of guitars were carved, it's the back that pokes me, not the front. Give me a flat front, and a carved up back. I want ONE edge, and that's on the front...
|
|
|
|
Post by 4real on Dec 4, 2010 19:56:03 GMT -5
I never understood why the fronts of guitars were carved, it's the back that pokes me, not the front. Give me a flat front, and a carved up back. I want ONE edge, and that's on the front... Oh...there is nothing like the sexy curves of a nice strat carved top and back...I especially like this 'player's view' and falling in love again with how this guitar feels... 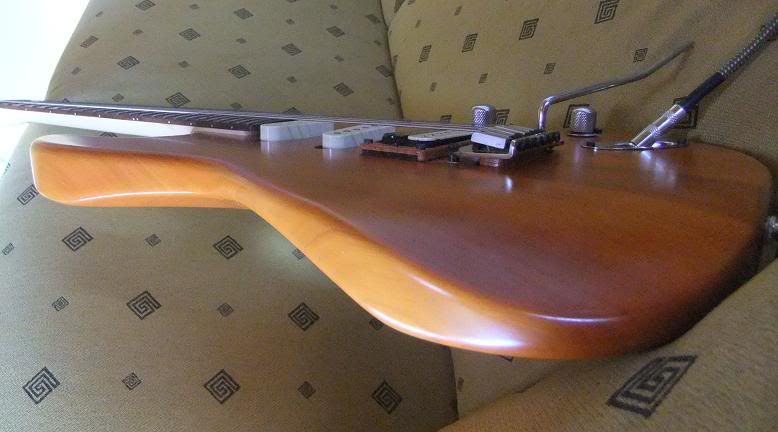 I've been playing a slab tele now for a couple of years and I feel that edge on the right forearm and it does change the angle of the arm to the strings...a tele is incredibly low and flat compared to strat. For years I played an LP and returned to that too recently...the ultimate carved top, plus the angled back neck and high bridge has a different feel again...I do notice the back edge does cut into the ribs a bit though... There is something to be said for all guitars of course, but there is something sexy about the top edge curve of a nice strat you got to admit... |
|
|
|
Post by irwired on Dec 8, 2010 16:35:36 GMT -5
You've put that poor strat in the COMFY CHAIR!!!!!!!
;D ;D ;D ;D
Cheers
IRW
|
|
|
|
Post by Double Yoi on Dec 8, 2010 18:27:55 GMT -5
AHA! That's explaines why we call em she! 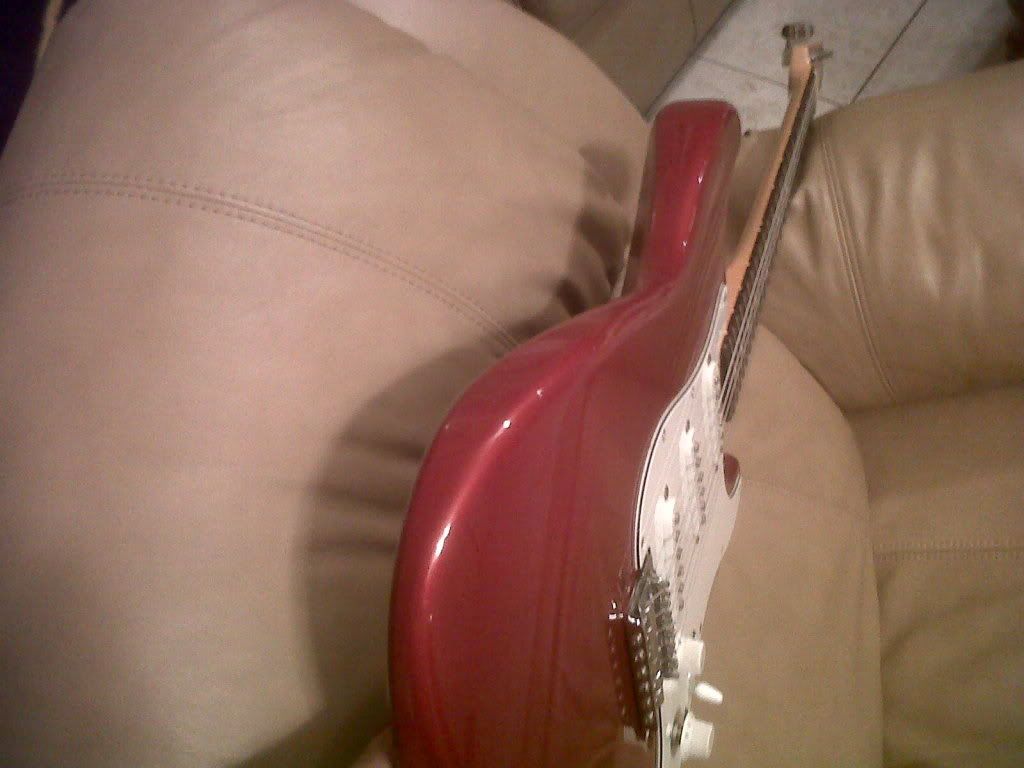 |
|
|
|
Post by 4real on Dec 9, 2010 5:09:33 GMT -5
Ohhh...so sexy... But bringing it back on topic...JB's fabulous yardbirds esquire really started that contouring thing...  This guitar was belt sanded to conform to strat like curves front and back... Modern versions of this kind of "look" are like this...  Interesting site for 'hot rod' tele's there...and an interesting wiring idea one might have a go at working out for an any pickup blender it seems...voodoo... www.patsguitars.com/voodoo.htm(EDITed to fix the link) |
|
|
|
Post by ijustwannastrat on Dec 9, 2010 8:49:48 GMT -5
JB had tons of a great ideas. Notice the strat-style switch knob? The tele-style looks really nips on the shelf, but I always seem to tear them off the first time I switch the thing, then tear my hand open the second time I switch the thing. Not a problem with the strat-style....
|
|