Scarecrow-
Hello and Welcome to G-Nutz2!Yes, there is decal paper, of the waterslide type. You can buy 8.5"X11" sheets of two different types, depending on whether you are using an inkjet or laser printer.
Google "waterslide decal paper" or something like that, you'll find a number of suppliers.
I have made up several sheets of my own logos, enough for literally hundreds more guitars than I will ever make.
I've written several tutorials on doing this but it's been awhile and I can't locate any at the moment. But basically, what you do is create your logo using any graphics software you like, then make up a sheet of them and print it out onto the decal paper.
To "seal" the printing, you then apply several coats of clear spray acrylic (from a rattlecan), letting each coat dry thoroughly before recoating. I use 3 thin coats.
To avoid problems of finish incompatibility, use the same brand/type of clear finish to spray the decal sheet that you're going to use to finish the headstock. I avoid lacquers for this as they tend to smear or lift your printing. I use a clear acrylic enamel.
Test the finish on a decal first (you'll have many to spare . . )
Now, before you apply the decal, you'll want to sand down the face of the headstock to bare wood to remove the previous lettering and the finish. I mask the rest of the headstock so that I am only stripping the face, not the sides or back. After it's done, re-mask the sides and back of the headstock, as well as the fingerboard and the rest of the neck to prevent overspray.
Apply a single coat of your spray finish and let it dry/cure (at least overnight) before you apply your decal. You don't want to be applying the decal to bare wood, it won't look right once you finish over it. You may want to do two coats before the decal if the wood has really absorbed the first coat.
Then, you cut out your decal, soak it in a shallow dish of warm water, and apply it. Use a razor knife to cut the decal, don't use scissors, as you need a tidy edge, which will be easier to "bury" as discussed below.
Use a bit of tissue to blot up excess moisture and to press out any air bubbles. Let it dry.
Now comes the hard part- burying the decal underneath multiple coats of clear, so the edges of the decal "disappear". This will take somewhere north of 10 coats, and probably more like 15. Apply 3-4 coats, very thinly, before any sanding. After you get a few coats built up, use some ultra-fine sandpaper (like 400 grit oxide paper) to sand out the coats a bit- but be very careful, don't overdo it, or you'll get down into the decal, and have to strip it off and start over.
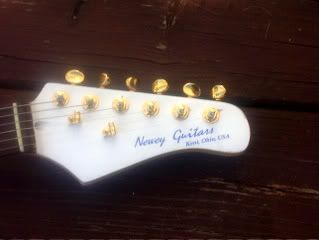
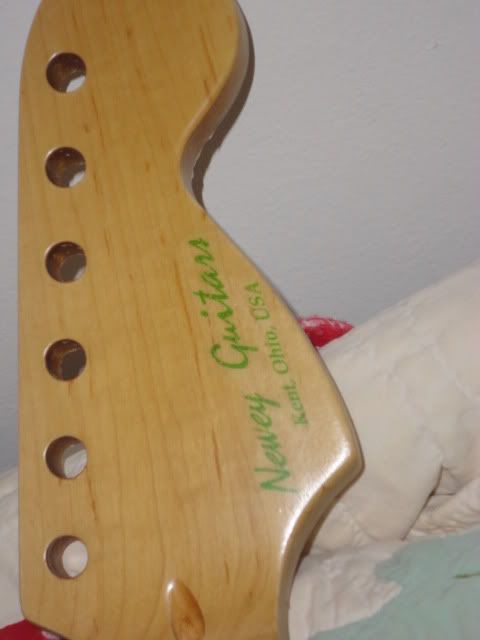
Done right, you won't be able to see the decal.
I've done this on painted headstocks, although it looks better on woodgrain: